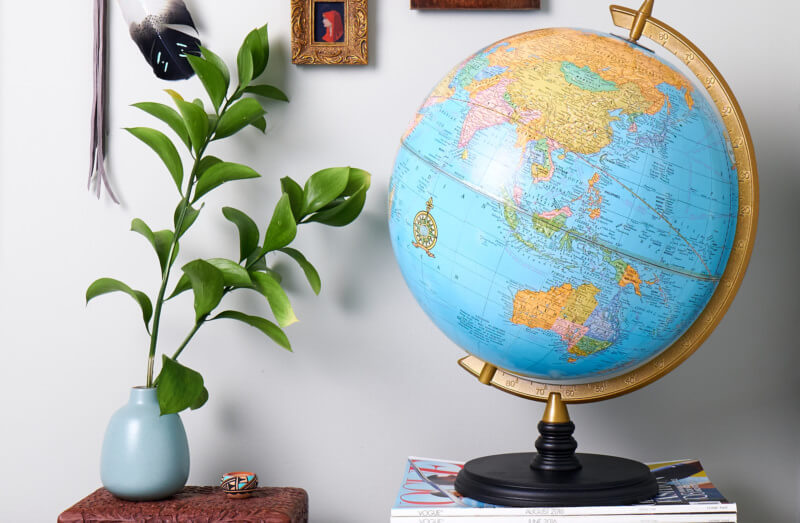
I recently discovered an old globe from my childhood, collecting dust in one of my parent’s numerous eaves. It’s nothing particularly special, probably from the late 80’s (hint being the large orange mass labeled U.S.S.R.), but as it’s the only globe my sisters and I had, I thought it might be fun to figure out how to make it work in my apartment.

You can see the original globe was pretty blah – looks like something you’d find in your high school library and the wood finish makes it look pretty cheap. It is also missing the tape around the middle (I have a faint memory of pulling this off), so it has a lovely yellow track mark of old glue around its rim. It also was showing signs of splitting in the middle there, probably from the lack of tape.
Many times you find things like this, that are in pretty good shape and have minor sentimental value. Most people will throw these things out or sell them at a yard sale, but if you generally like the piece, it’s in good shape, and made of good materials, I challenge you to find a way to give it a new life.
Here’s how I gave this old globe new life and a little more character.
Step 1: Clean It!

Get rid of the old dust and dirt. Wipe the globe with a damp paper towel, making sure to get any overlooked places. Now it’s ready to work on.
Step 2: Take it Apart

Most globes attach via a bolt at the bottom. A socket wrench works best for this.

Step 3: Sand that Base

If you’re going to paint, a light sanding is a must. I used a fine grain sanding sponge to cut into the finish so the paint will adhere better. Be sure to get in those nooks!

Wipe down with a damp cloth and let dry.
Step 4: Paint!

Use a large piece of cardboard and set your pieces in a way that keeps the edges from sticking to anything. I like to use rolls of tape below larger items, and for the little pedestal I ended up using the original screw, under the cardboard to keep it raised off the ground.
I like this Rust-oleum spray paint in Flat Black. It contains primer so all I need is 2 simple coats. Always follow the instructions on the back of the can.
Step 5: Fix the Seams

While your paint is drying, tape the equator back together. I found this 6mm book repair tape which worked perfectly, fitting over the old glue track. It had a little bit of stretch and pulled tight around the curve.
Start at an inconspicuous place, like where several seams meet. Slowly pull along the rim, pressing the tape as you go to secure it and to release any bubbles. Trim to a slight overlap.
Step 6: Little Details

I stumbled upon this vintage graphic design tape from the 1960’s while on my last visit to San Francisco and thought it made the perfect equator! It is a nice detail to add to the globe and I layered it over the clear tape.
These small details really bring it all together!
Step 7: Assemble and Smile

Put the dried base back on, screw it on tight, and you’re done!
Now the challenge is to find the perfect place to display your updated globe or item. I have mine on my bedroom dresser, surrounded by some of my favorite trinkets that I’ve collected on my travels.


Do you have any old items or memorabilia from your childhood, just waiting to be updated or fixed? Well, spring is coming and it’s the perfect time for renewal. It’s always a lot easier than you think, so put on some work gloves and start fixing!
P.S. Please share any of your awesome DIYs with me on Instagram via the hashtag #shessobright. I can’t wait to see your handy work!


